In this guide, I will show you step by step how to properly fold your pocket square for events like wedding. There are several easy and quick instructions here on shifting folding techniques. You will learn to fold the pocket square correctly. It is an important accessory and belongs in the outfit of the wedding guest. The pocket square not only passes on some of your personality, but also emphasizes facial features and enhances the outfit. There are many techniques for folding the pocket square. It´s important that these are mastered and used differently depending on the occasion.
A pocket square made of linen, silk or thin wool is recommended so that the cloth at the wedding is airy, sits lightly in the breast pocket and the cloth unfolds its full effectiveness. This pocket square is perfectly suitable.
Below you see the step-by-step instructions explained with very good photos. With these folding instructions you can easily learn and fold the pocket square by yourself. In addition to the photos, I described the individual steps.
All the best for the next big event. See you soon.
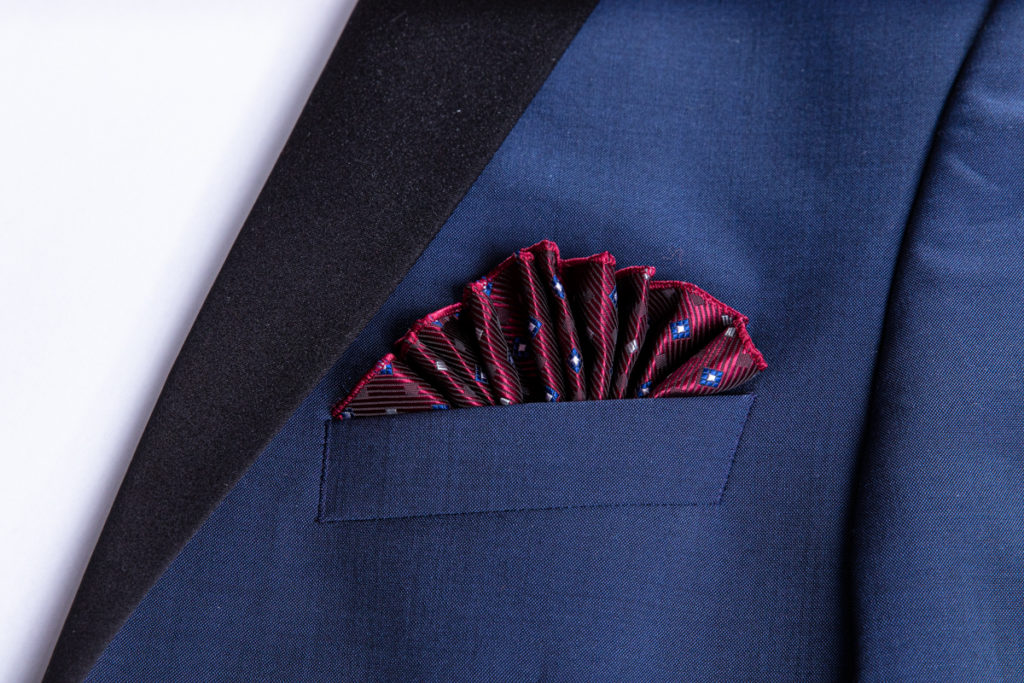
How to fold a pocket square: The fan fold
The fan fold looks very cool and is easy to fold yourself.
A rubber band makes your work in the end easier and creates better stability in your breast pocket. For pocket folding, the pocket square is folded over and over again and then folded in the middle. You see it on the pictures. Since this technique looks very cheerful, it is perfect for casual occasions.
This fan fold technique looks best with a colorful pocket square that has different prints or patterns. Use bright colors for summer and darker colors are perfect for winter.
Step 1:
We spread the pocket square on the table in front of us and smooth it. It is important that the better side looks down to the table, because it will point outwards after folding.
Step 2:
Then you start folding the accordion. To do this, fold down your pocket square by one centimeter and put it back on the pocket square. Over and over again.

Step 3:
You repeat this process until the pocket square is completely folded. Make sure that the distances is always the same.
Step 4:
As soon as the entire pocket square is finished in a long fold, gently press it flat on the table and check again that you have folded everything evenly.
Step 5:
Then fold your pocket square like in the picture in the middle by placing the two outer edges on top of each other.
Step 6:
Finally, you make a rubber band in half so that the fold remains in its shape. Link I said in the beginning. To make the folding look even more fluffy, bulge the pocket square up a little further.

The Puff fold
The pouf fold does not need any special knowing and is made very quickly. It is very elegant and therefore perfect for the wedding. With this folding technique, you should use pocket squares with patterns or other eye-catching prints. Best with bright colors.
With this folding technique, you don’t really fold, but pull the pocket square through your finger and thumb and then put it in the breast pocket of your jacket. You can read the instructions below or watch our video above.
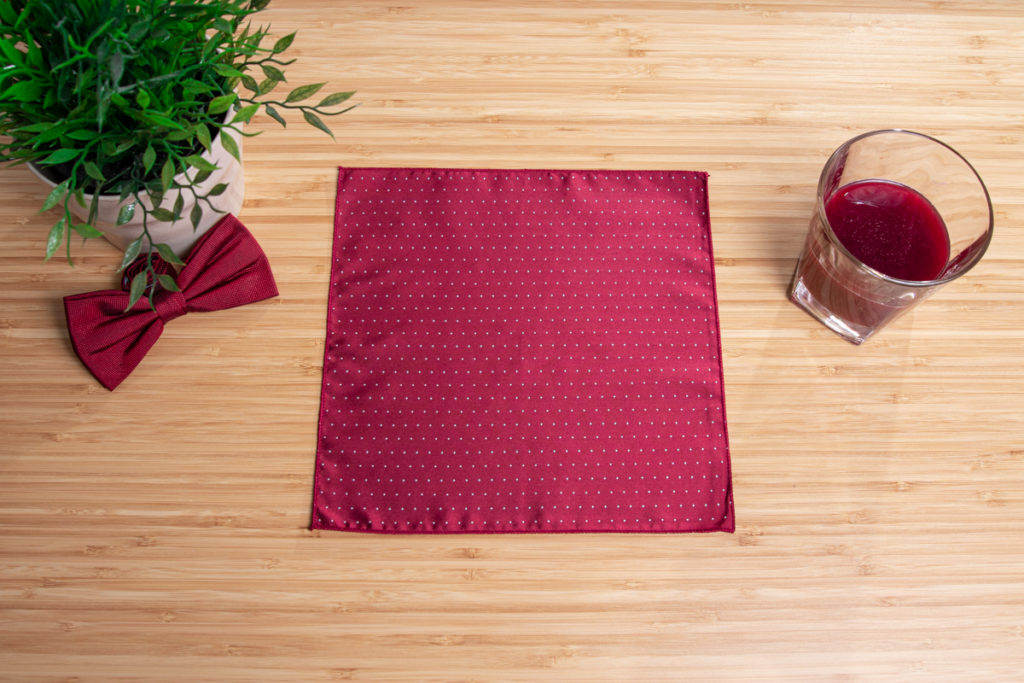
Step 1:
You place the pocket square on the table in front of you. If it is not completely smooth, it is not a problem, because later it will be puffed up again and so its looks perfect.
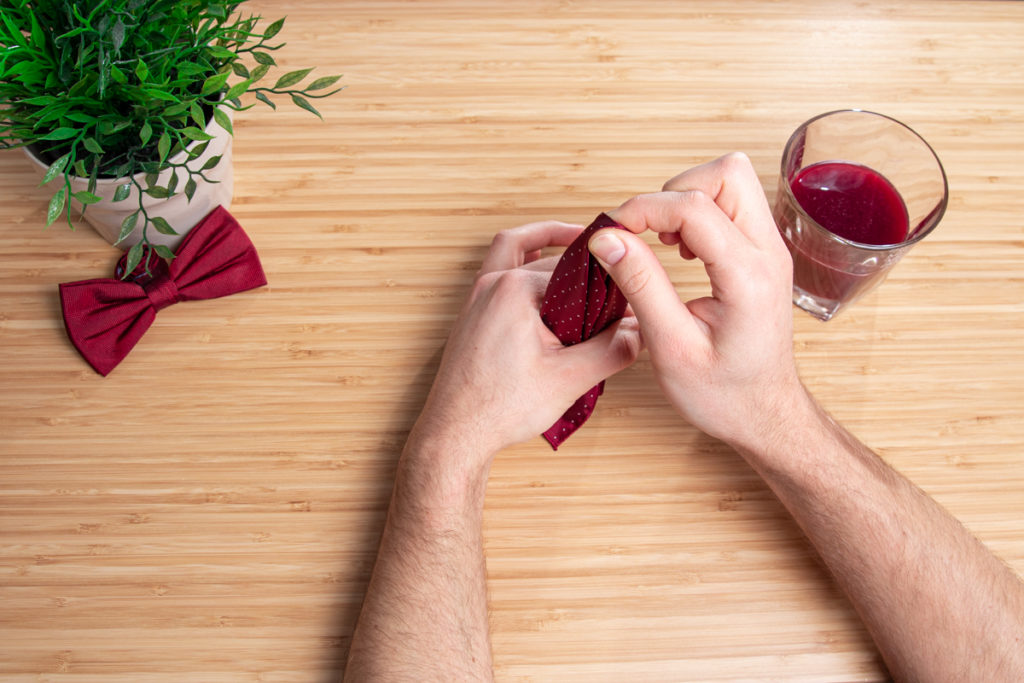
Step 2:
Than you grab the pocket square with your right hand in the middle of the pocket square and pull it through your left finger and thumb.
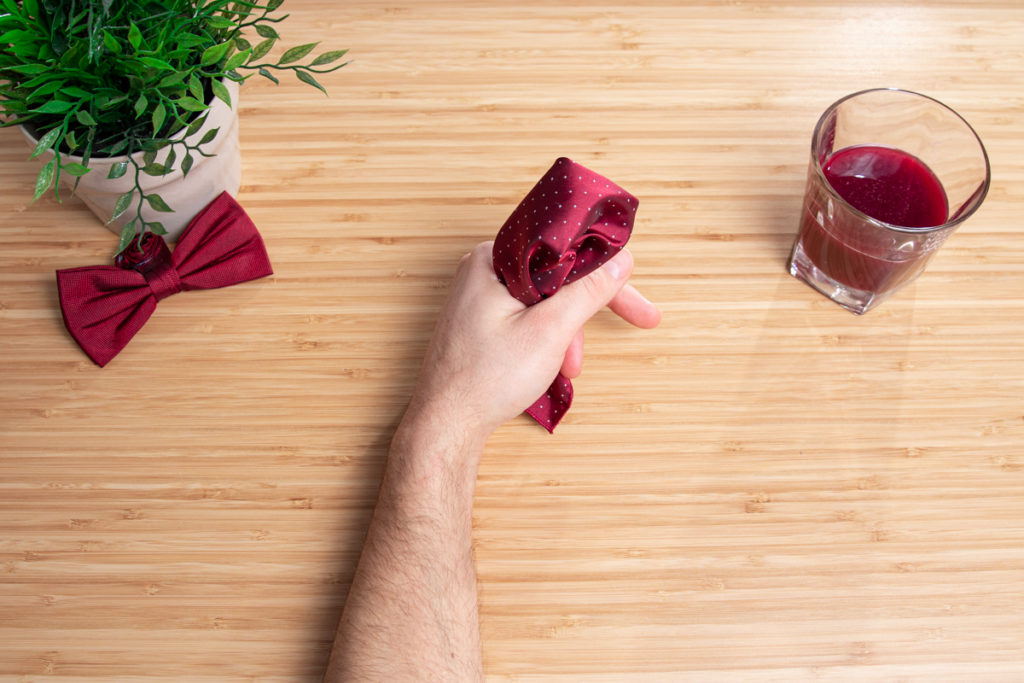
Step 3:
Then the pocket square should look like the one in the picture here. In the end, you can make it even more beautiful by removing small edges and corners and puffing up the entire pocket square a little more airily.

How to fold: The three point fold
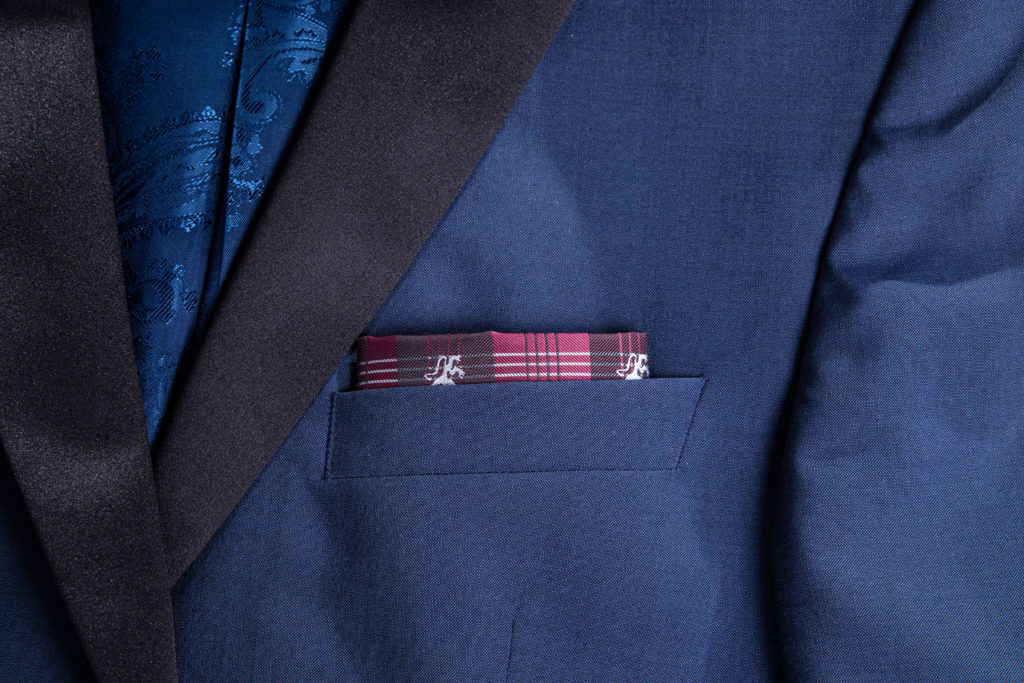
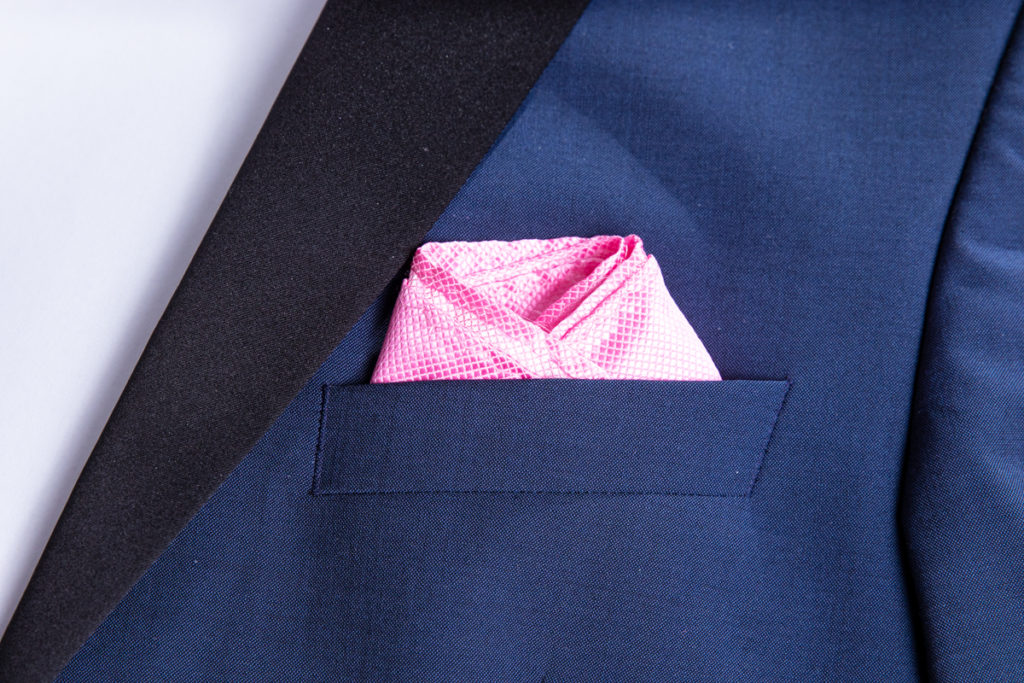
The three point fold looks at the pocket square with three pointed corners from the breast pocket of your nice jacket. The technique for folding the pocket square is not difficult and you can often get it right away. This technique is ideally suited for weddings or birthdays or.
With the fabric, you should pay attention to somewhat firmer fabrics so that the edges do not collapse while sticking in your suit pocket. It is also a good idea to use a cotton or linen cloth. A silk pocket square would be ideal for folding the pouf but it would be too thin here.
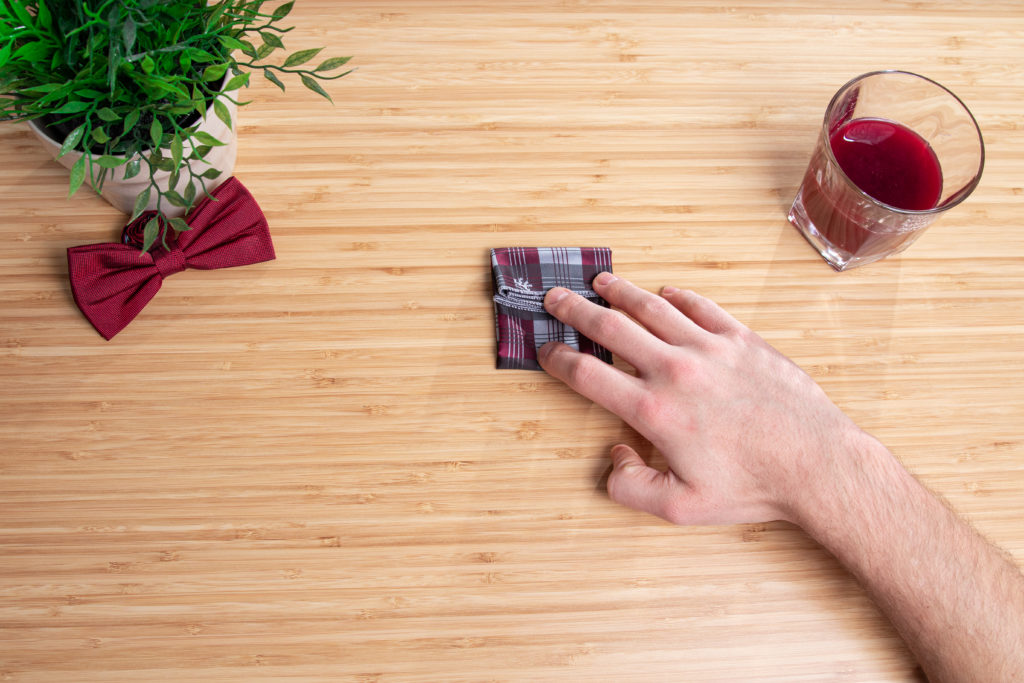
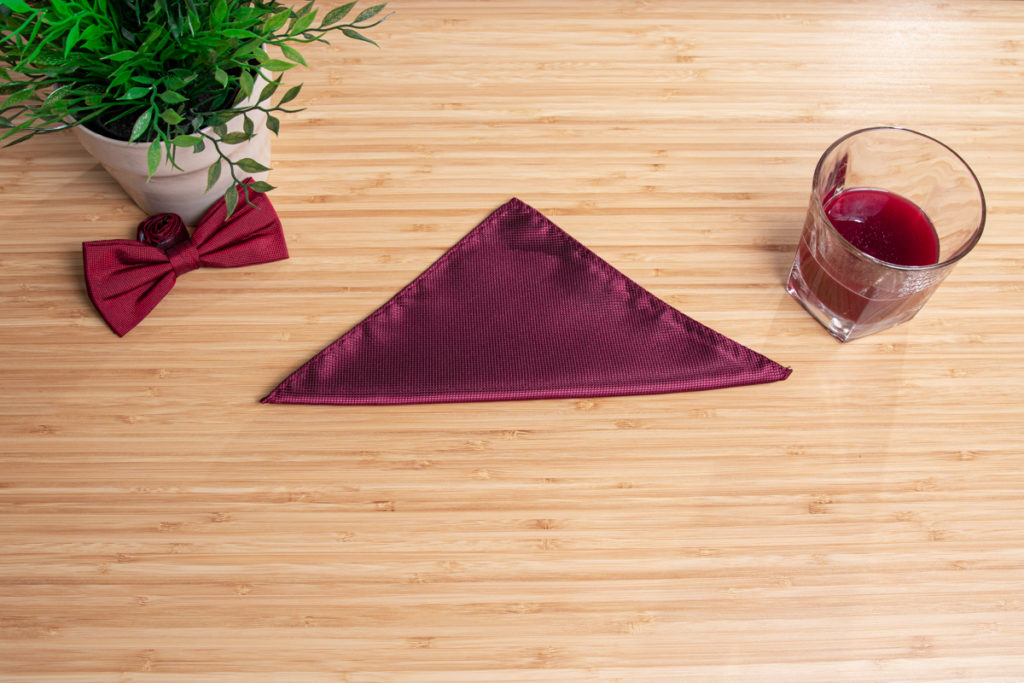
Step 1 to fold:
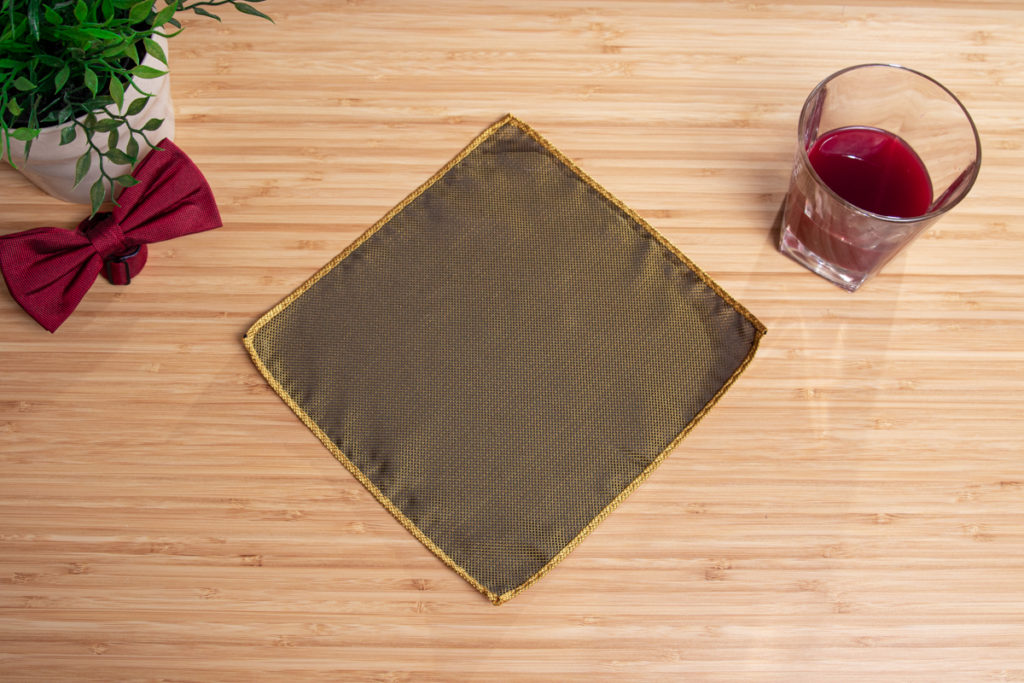
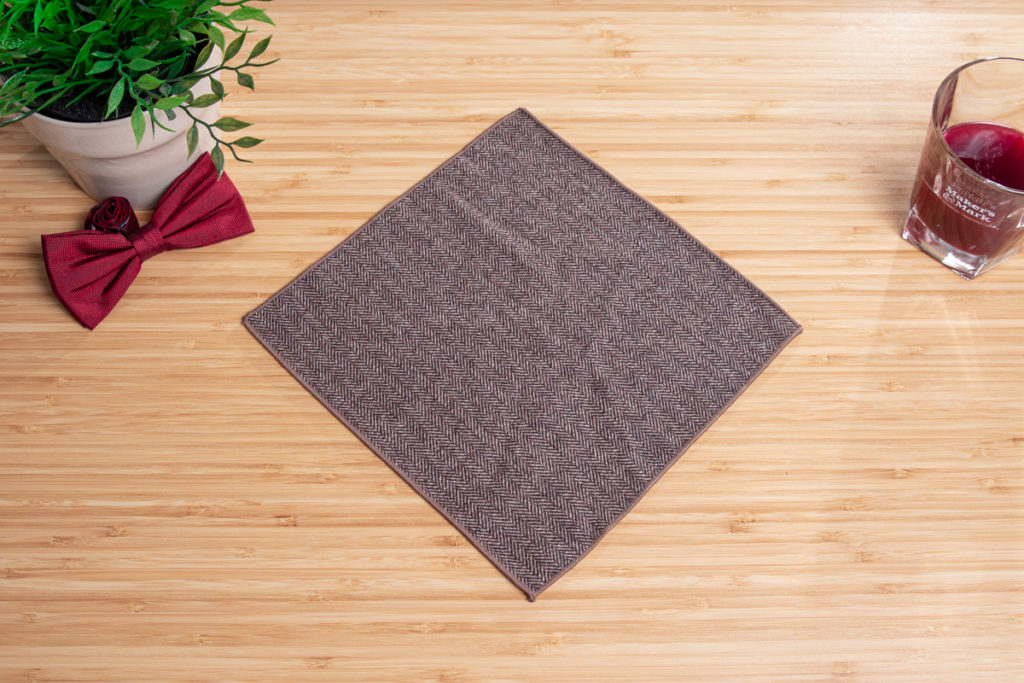
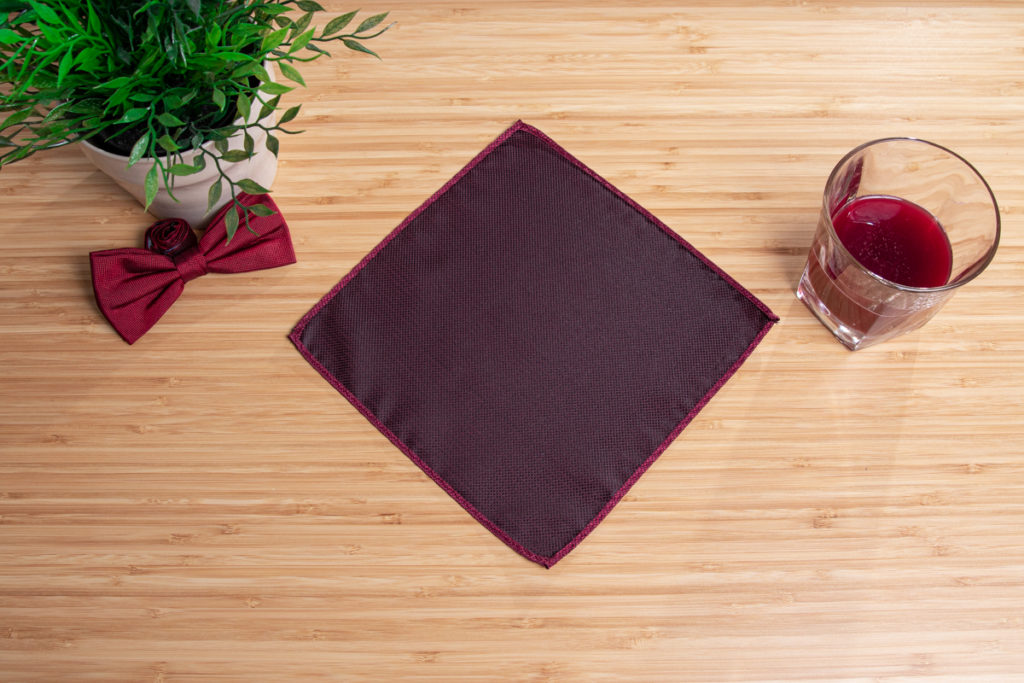
To get started, put the pocket square on the wooden table in front of you like a diamond and smooth it carefully with your hands. It is important that the better side of the handkerchief looks down.
Step 2:
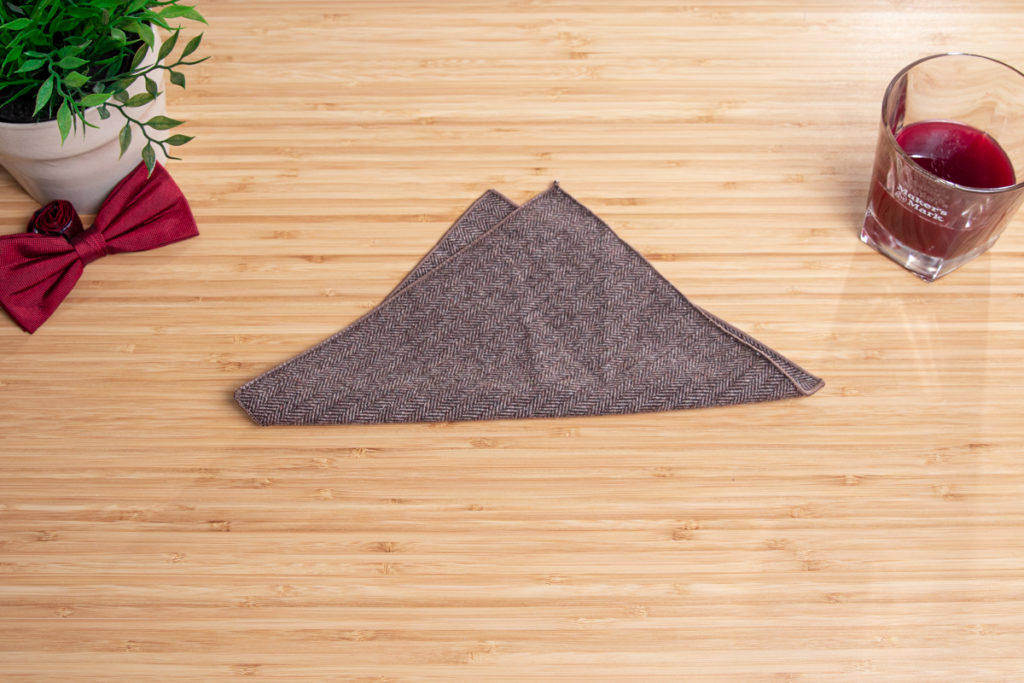
Then you take the right corner of the pocket square and fold it once onto the other, opposite corner. Now you have folded a triangle out of your pocket square.

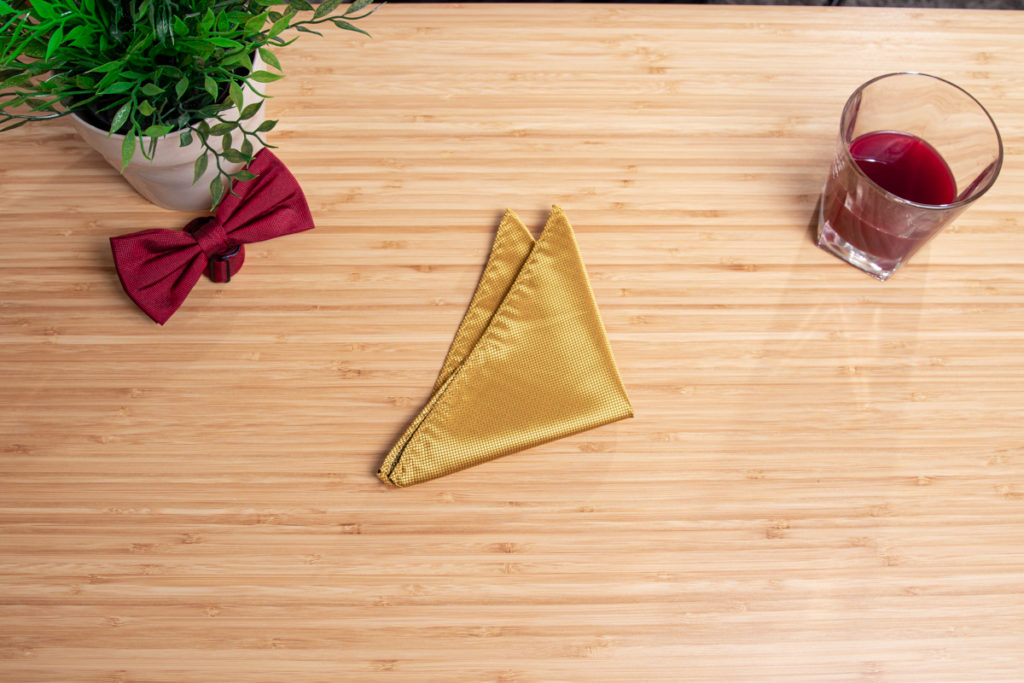
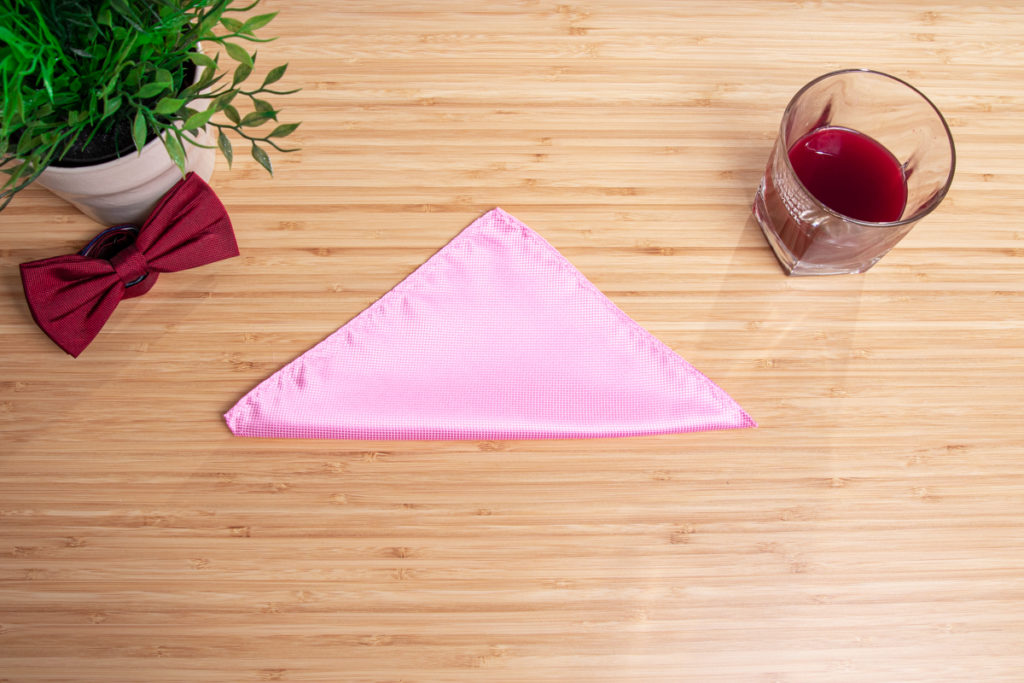
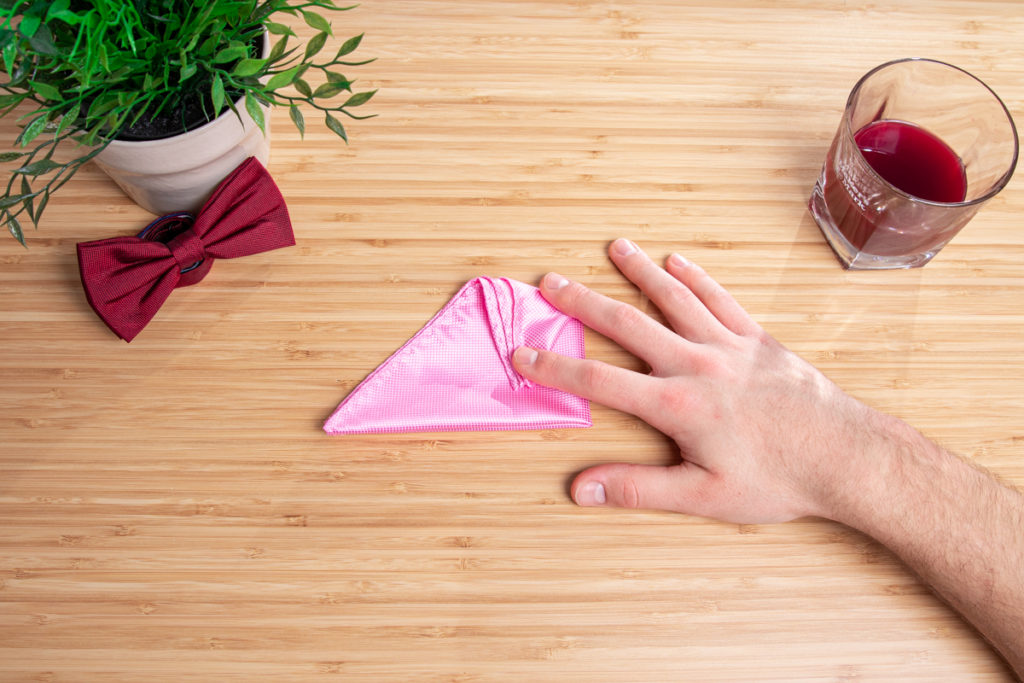
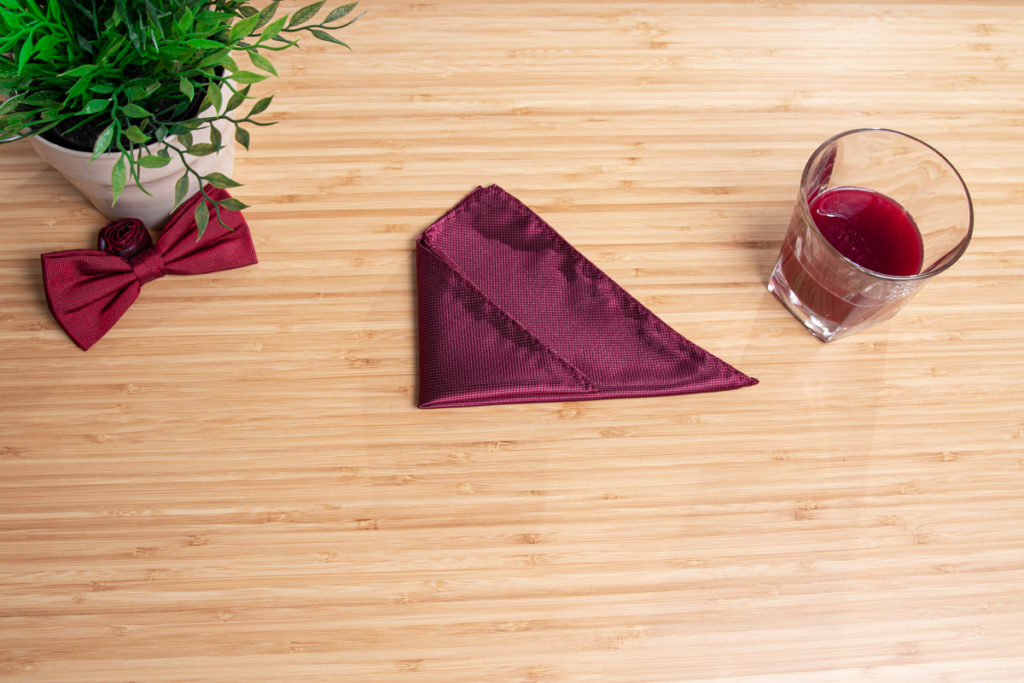
Step 3:
In the next step you take the lower corner and place it slightly next to the upper corner, as in the picture. So you already have two peaks in your pocket square.
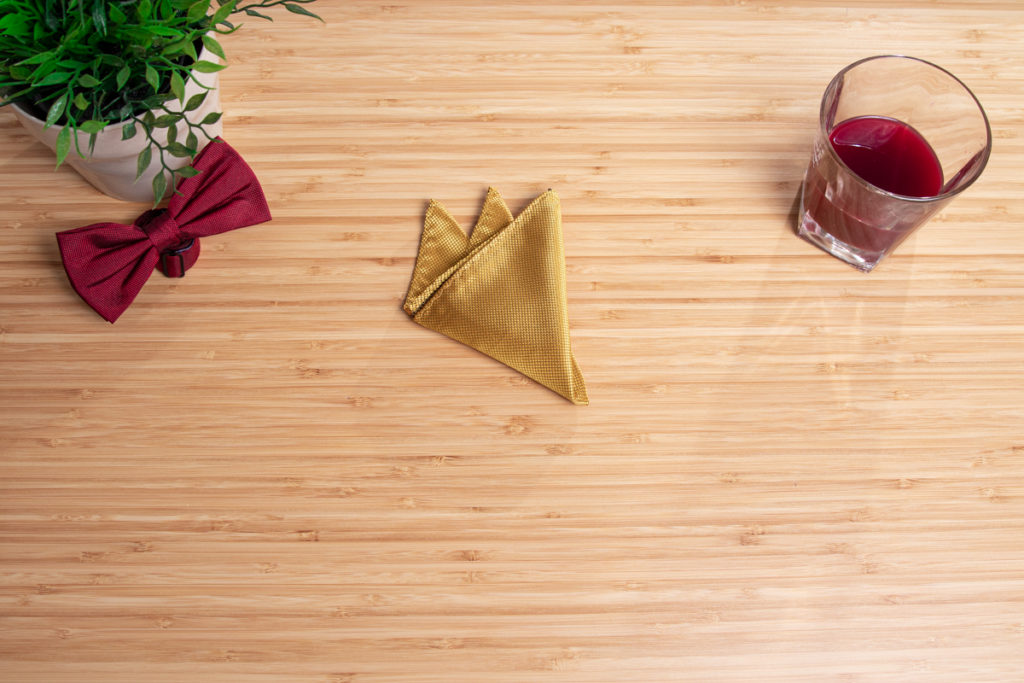
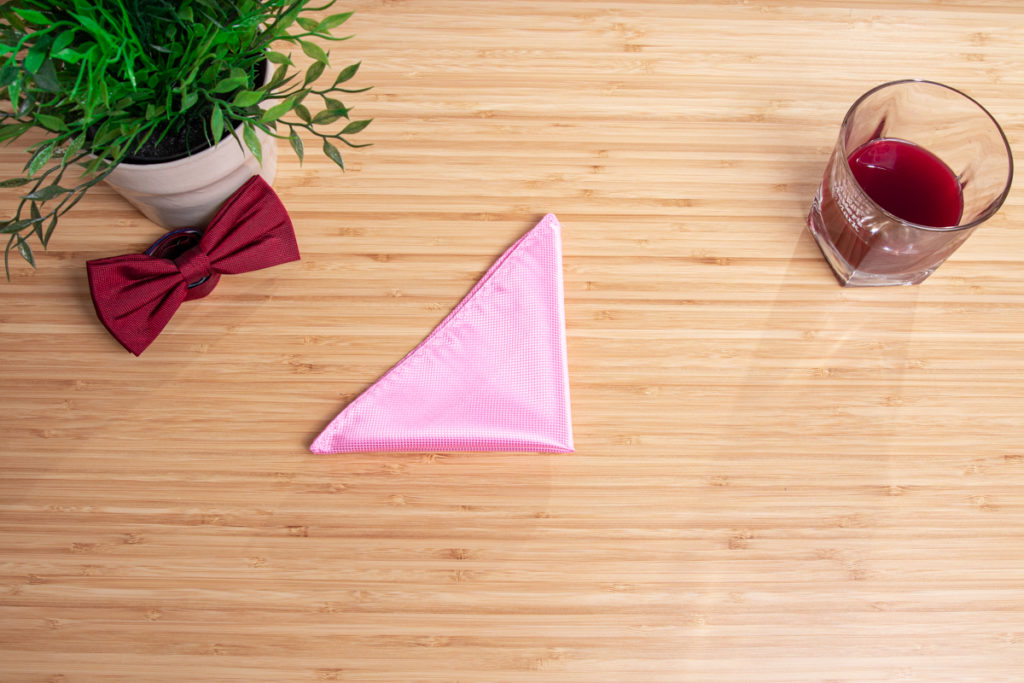
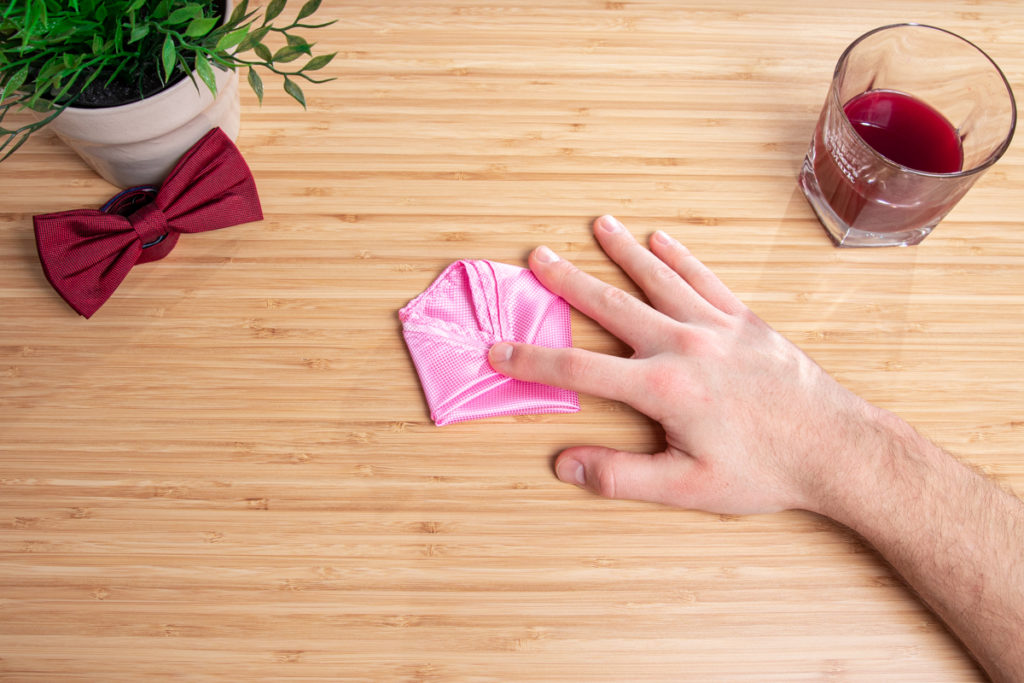
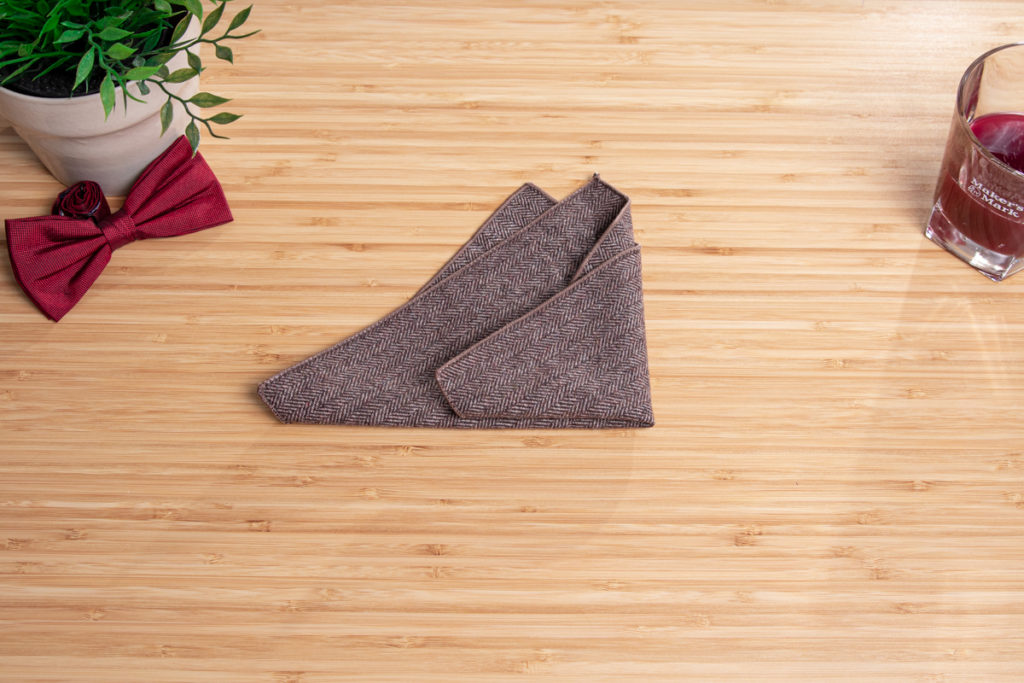
Step 4:
To make another corner, you take the lower corner again and place it to the right of the two upper corners. Smooth it down a bit with your hands and it’s almost done. Do not apply too much pressure when smoothing to avoid wrinkles in the pocket square.
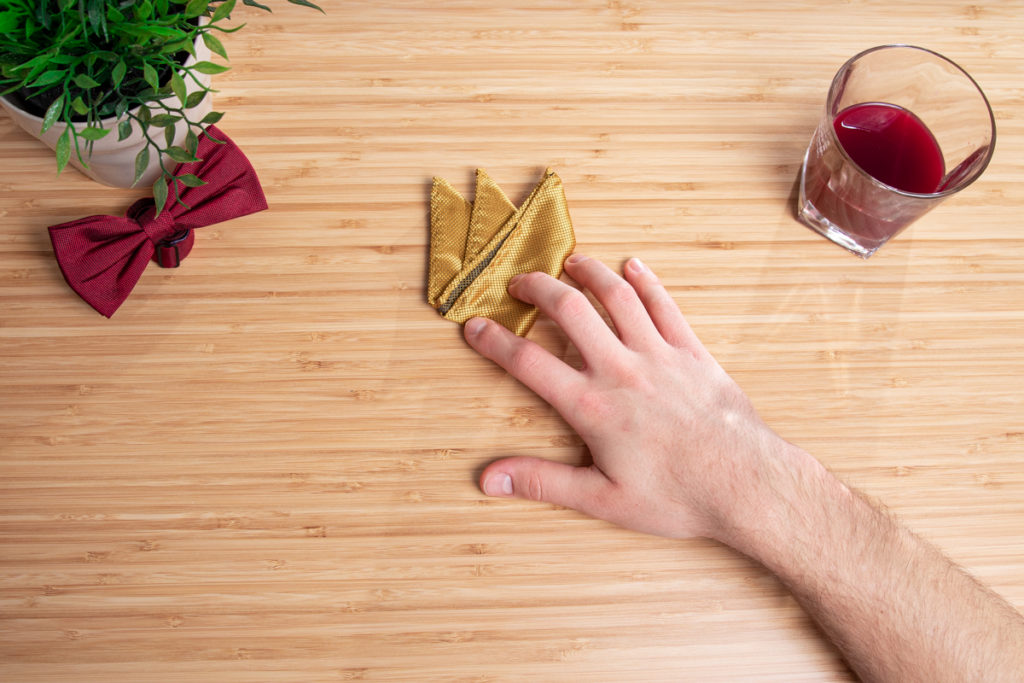
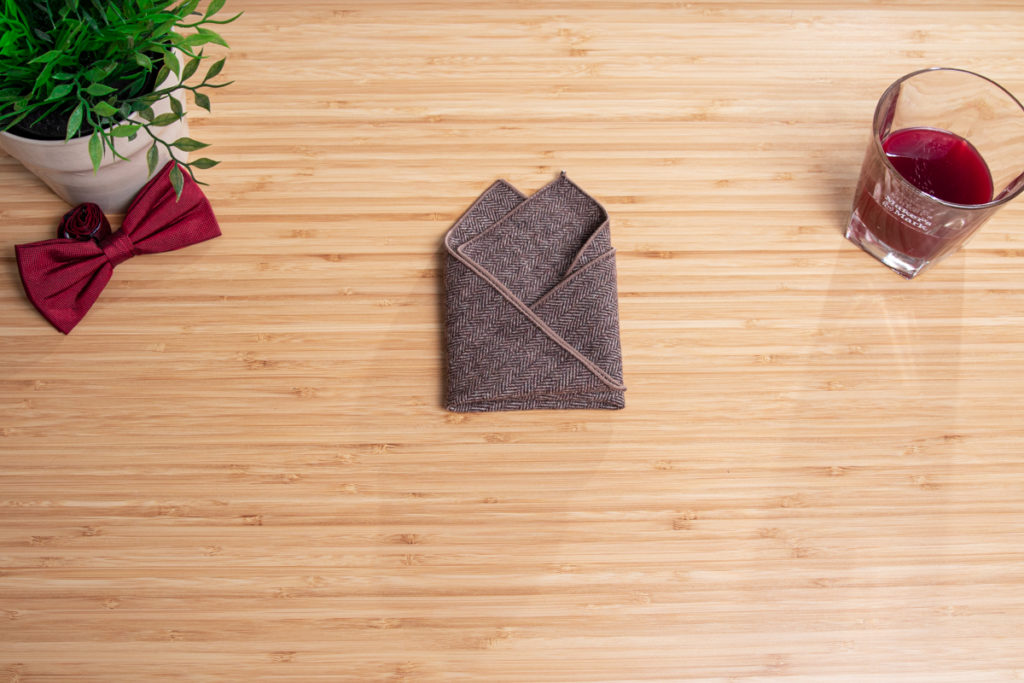
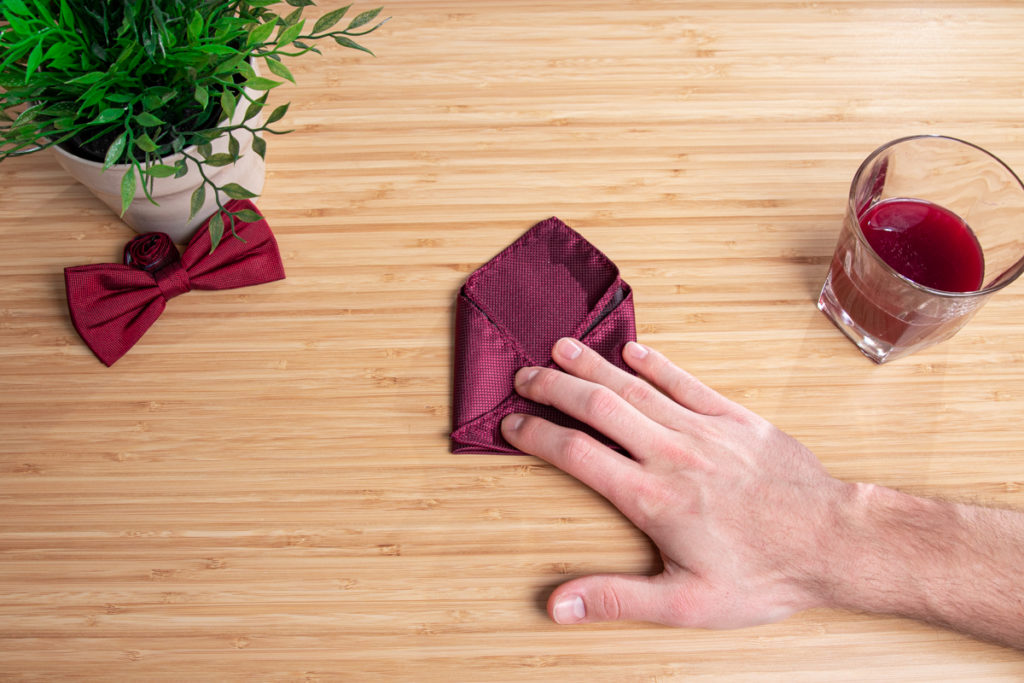
Step 5:
At the end you fold the protruding, lower right corner onto the rest of the pocket square so that it fits better in the breast pocket of the jacket. Another advantage of this is that it makes the pocket square more stable.

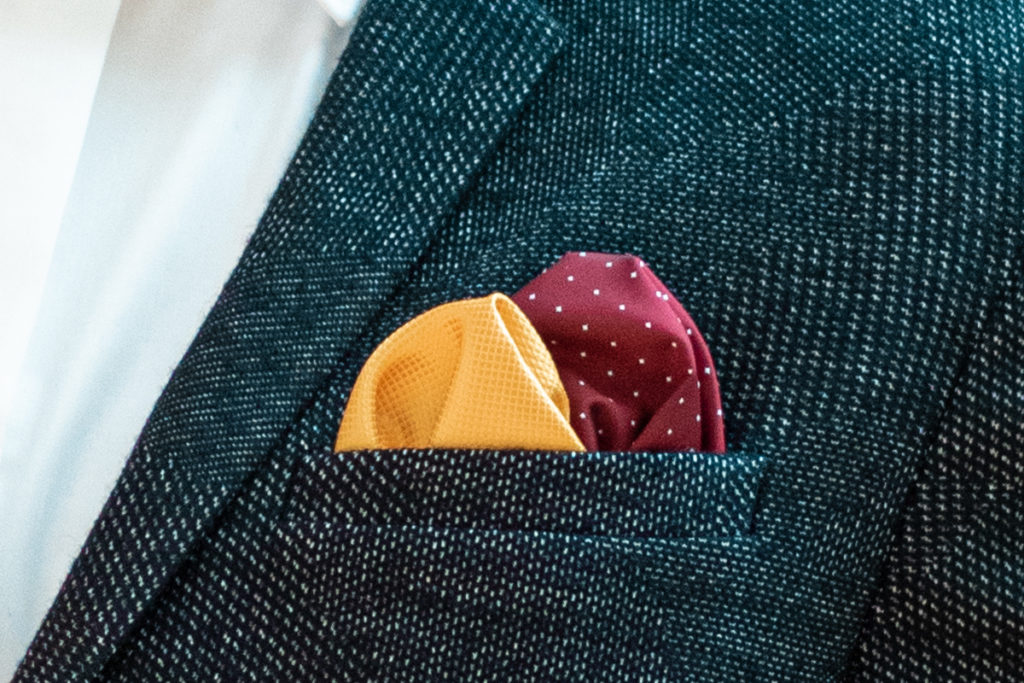
Pocket square: The double puff fold
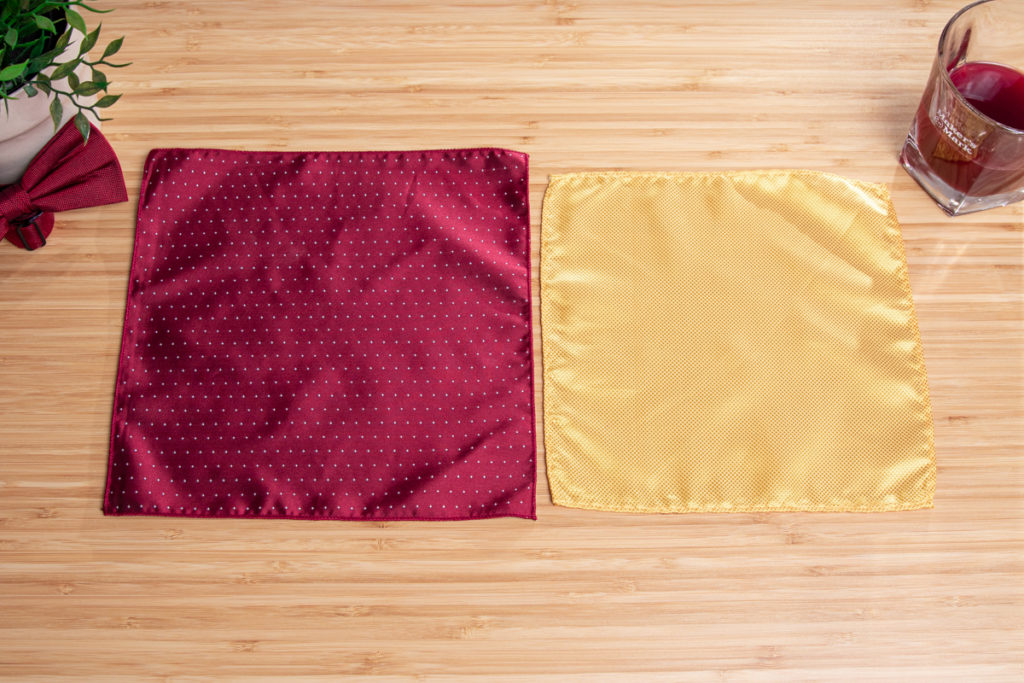
The double puff fold is very easy and quick. You may already know the simple puff fold. The double puff fold is very similar, only that you need a second pocket square. So there is not just one pocket square in your breast pocket, but two. This is why this folding technique looks all the better if you combine two different colored pocket squares.
The double puff fold is perfect for casual occasions and festive weddings.
Step 1 How to fold:
You spread the two pocket squares in front of you on the table. It is perfect for the look if the pocket squares in the colors are complementary to each other. You can read what that means in our article about the color choice.
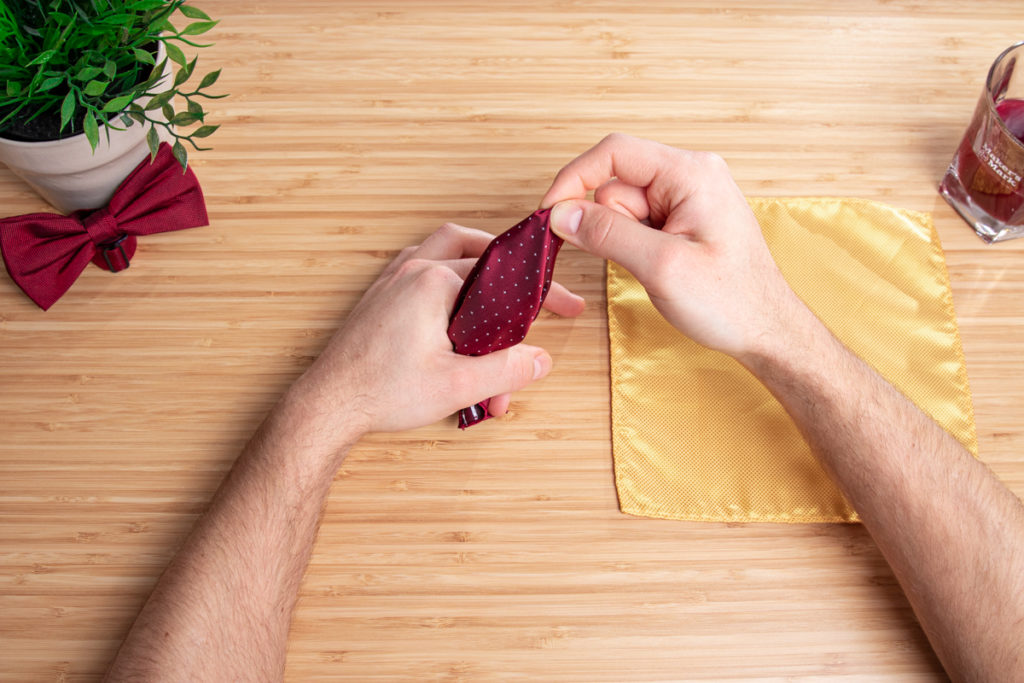
Step 2:
You take the first pocket square and grasp it in the middle with your right hand. Then carefully pull it through your index finger and thumb of your left hand. Make sure you don’t pull too far. It’s similar to the normal puff fold.

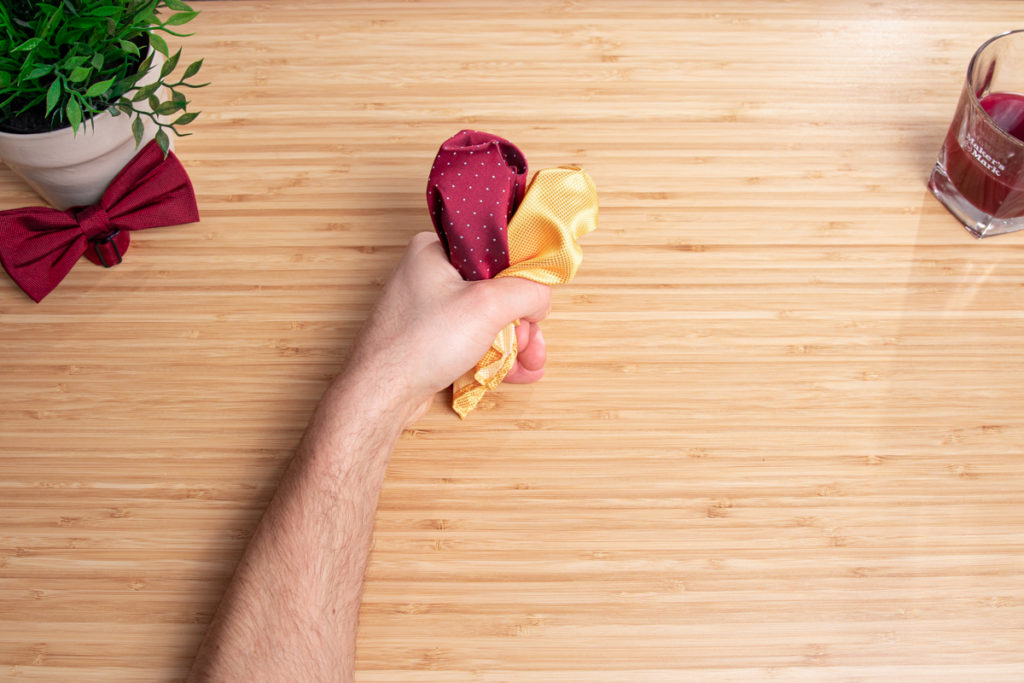
Step 3:
You now repeat step before with the other pocket square. You can also pull it through your index finger and thumb. Be careful because the other handkerchief is already there.
Step 4:
Now you are almost done and it should look like this in the picture to the right. The two pocket squares were folded to double the pouf. Although you can’t really say folds. Was too easy to say it was fold. But you did a good job.
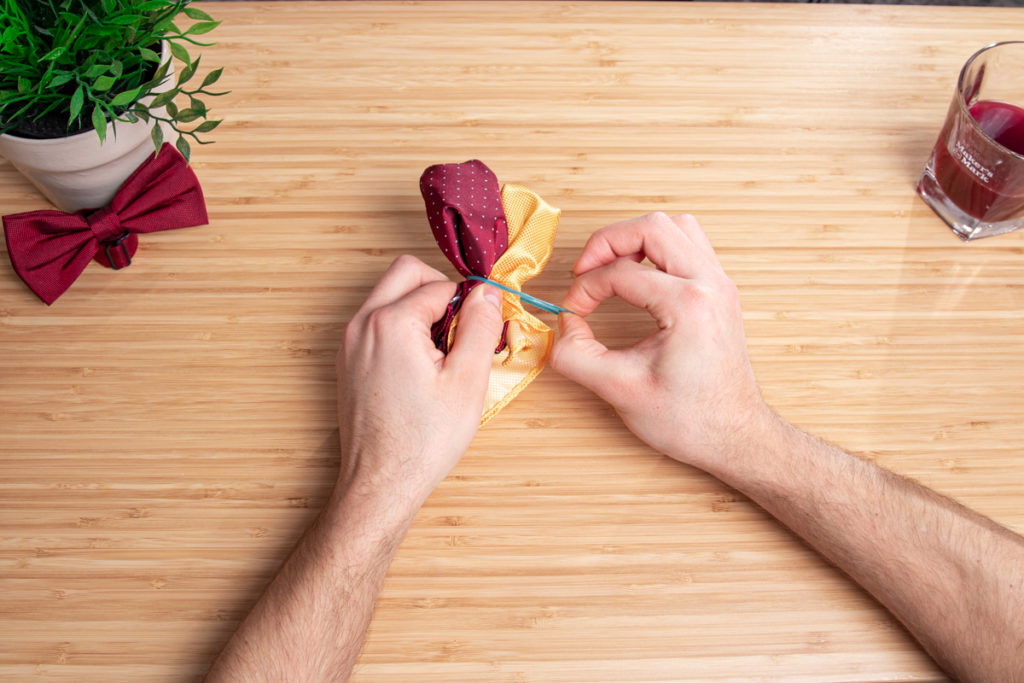
Step 5:
Then you can use a rubber band for the fixation, so that the two handkerchiefs hold even better and do not separate from each other in the breast pocket. So you can even vary the height of the two pocket squares.
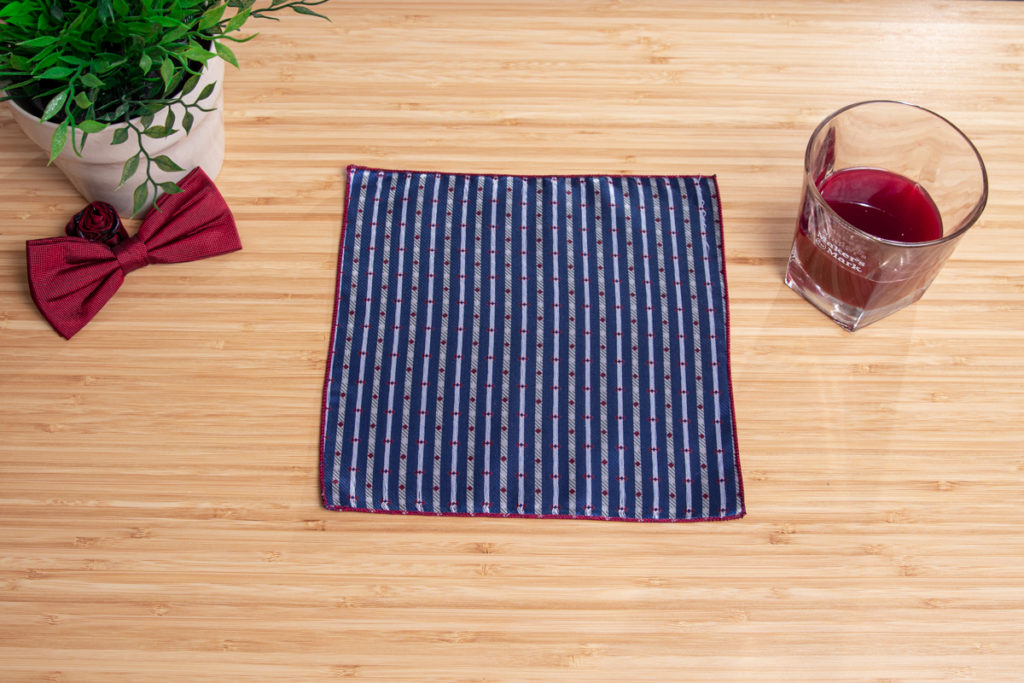
How to fold the rectangular pocket square
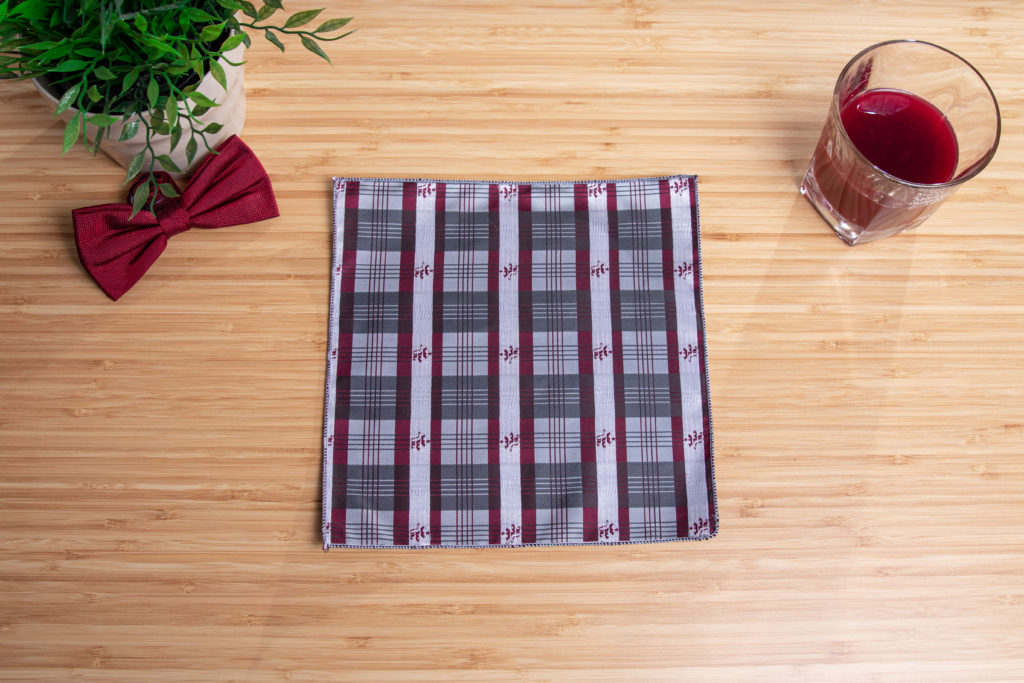
Step 1 for the pocket square:
To start with the fold, you put the handkerchief on the table in front of you and smooth it softly. The nicer side looks down to the table.
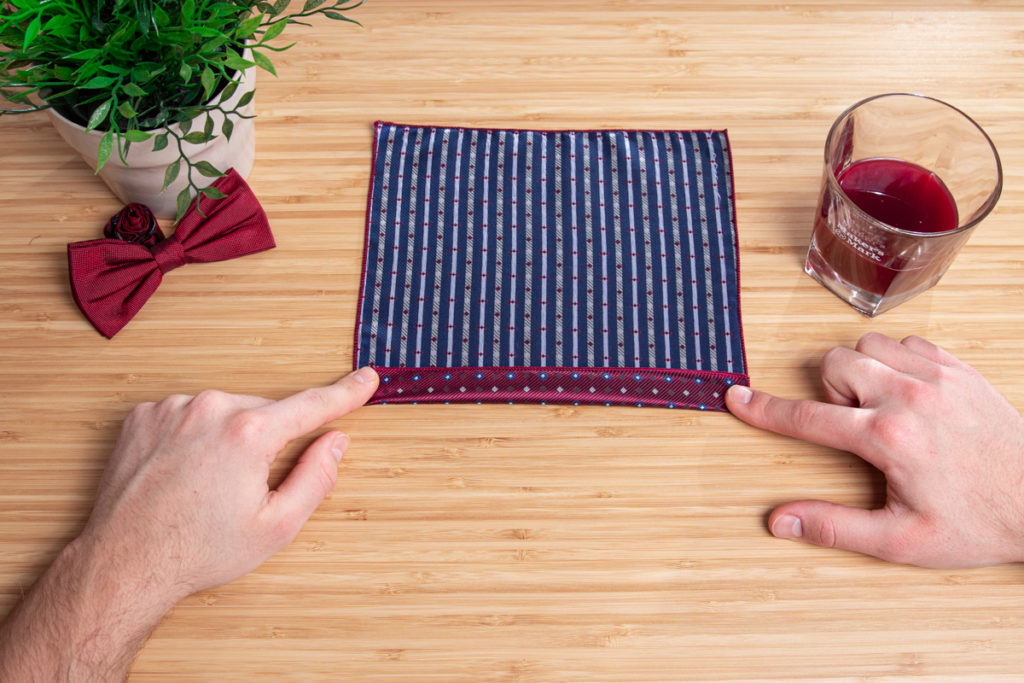
Step 2:
Than you put the right side of your pocket square on the left side. So you folded the pocket square in the middle of itself. Now looks like here in the right picture.

Step 3:
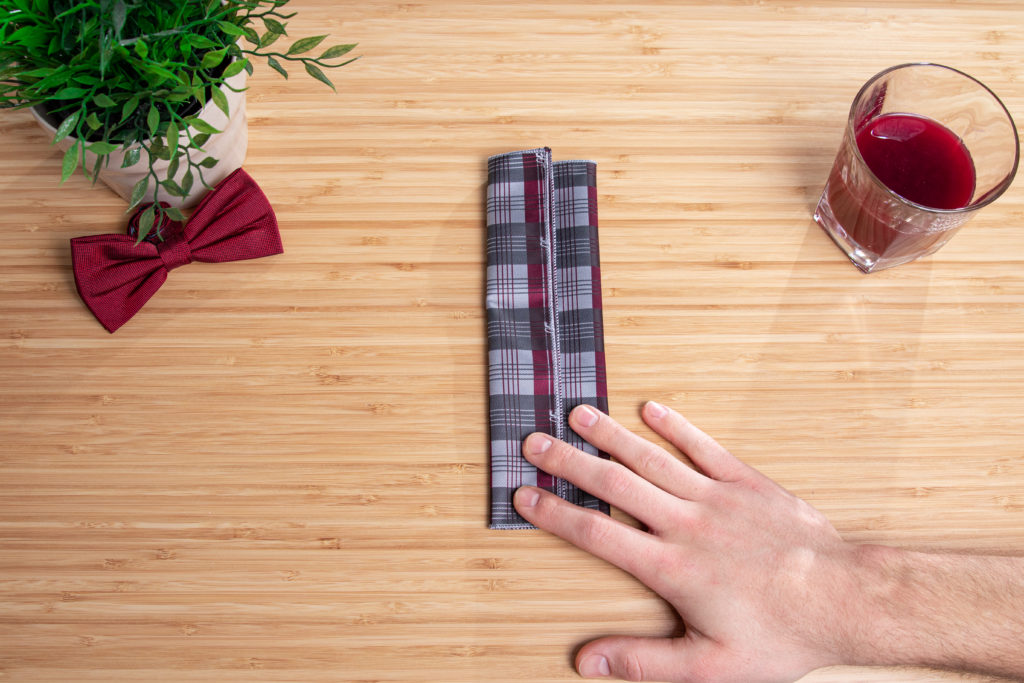
Then you fold the left side to the right up to half of your cloth. So you don’t go the whole way back, but half of it.
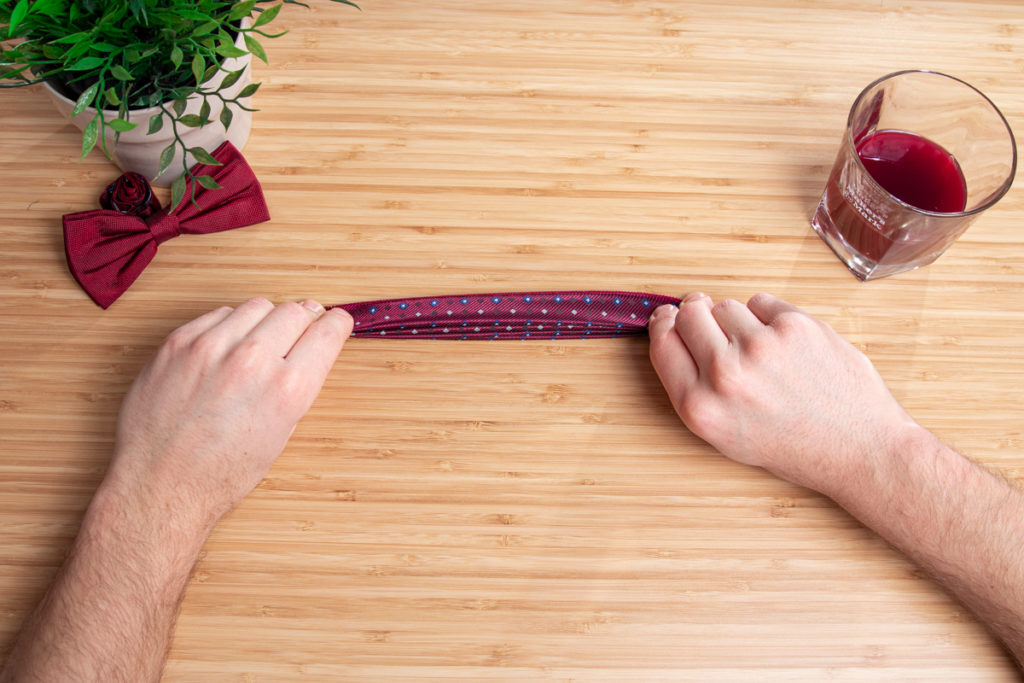
Step 4:
Now you take the top side of the pocket square and fold it down to the other side. The upper side is therefore exactly on the lower side. Now it should look like the one in the picture.
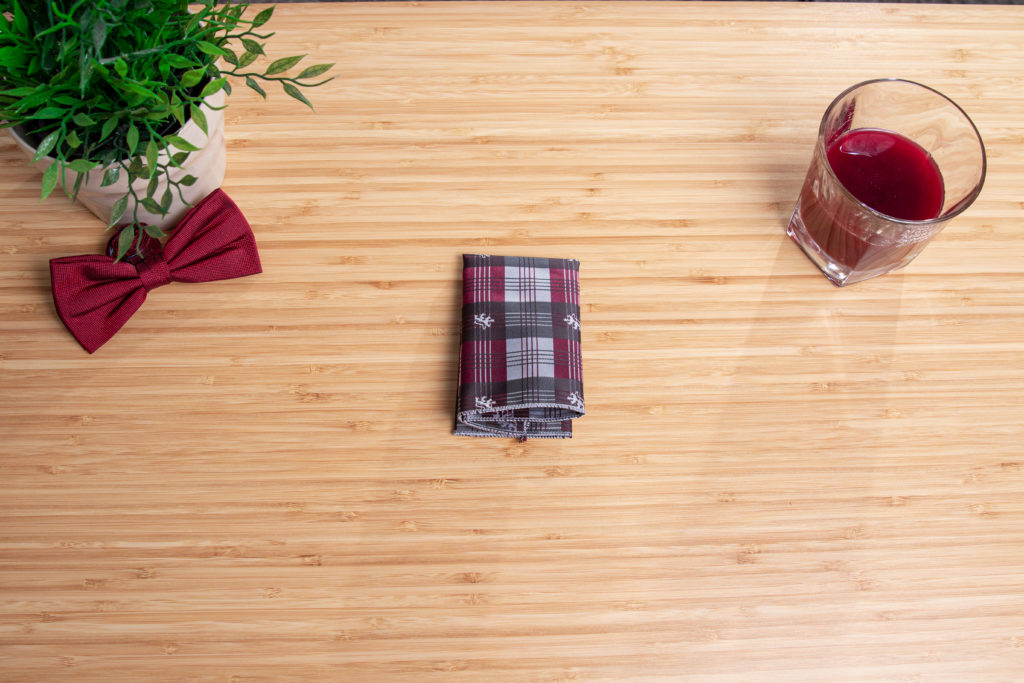
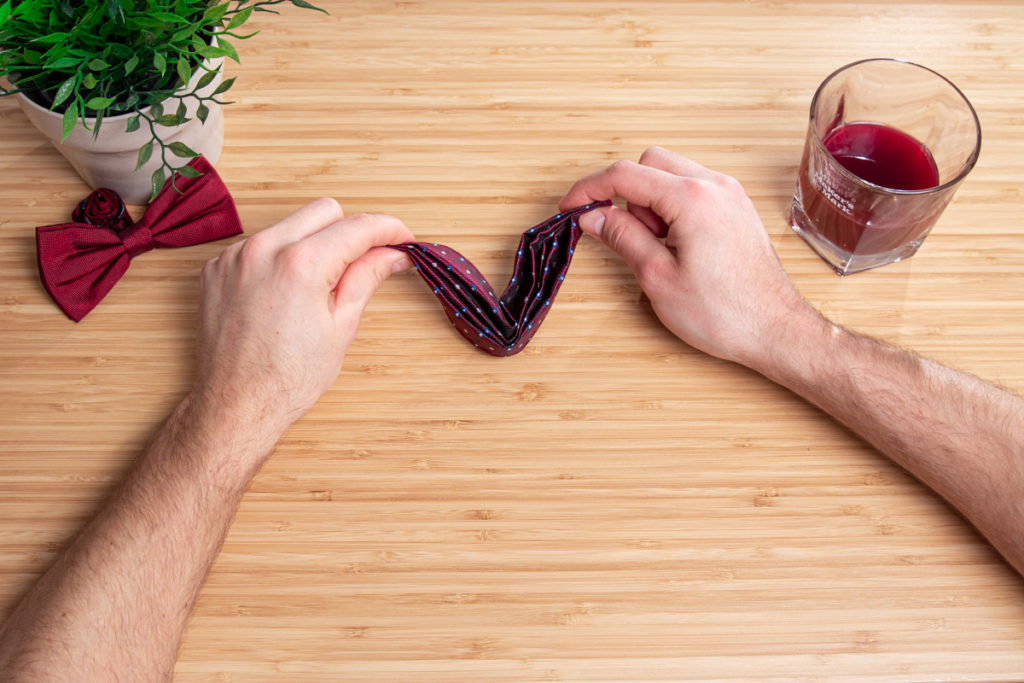
Step 5:
So that the pocket square fits well into your breast pocket of the jacket, you have to fold down the lower, open corner again. Not surprisingly, the pocket square was turned before we made this step. Because of that it looks as if it was folded in from above. If you don’t turn it, you would fold from down to up.
The Shell Fold

Step 1:
You put the handkerchief on the table or other flat thing in front of you and smooth it softly with your hands out. To make it easier to fold, you can lay it down like a diamond. The “nicer” side looks down to the table.
Step 2:
Now you take the right corner of the pocket square and place it on the left corner of it. Make sure that your cloth is straight and then smooth it out a little with your hands. But not too much.
Step 3:
Then you take the lower corner and place it on the upper corner. The triangle became a smaller triangle.
Step 4:
If the handkerchief is not in this position like in the photo, I recommend the step-by-step the video from above.
Otherwise, go ahead and fold the top corner down to the middle of the pocket square. Make sure that you don’t smooth the handkerchief too much so that there are no permanent kinks.
Step 5:
In the final step you repeat step number 4, with the other side and fold the left corner of the pocket square also in the middle, to the other corner. Than your did it. The pocket square is ready folded.
The two peak fold
Step 1:
You put the pocket square on the table like a diamond, smooth it with your hand and then you can start folding the handkerchief straight away. It is best to take a pocket square that has two “good looking” sides.
Step 2:
In the next step, you fold the lower corner of the pocket square about one centimeter next to the upper corner. My tip here: Put the corner to the right so that it looks even better and more dynamic in your breast pocket later.
Step 3:
Then you fold the right corner about one third or 5 centimeter over your pocket square to the other left corner. This should look like the picture on the left.
Step 4:
Repeat step 3 with the left side of the pocket square. Put the corner over a third too to the other side. If you did everything good, I should look like this. The both sides down have the same length.

The Triangle fold
Step 1:
For the Triangle folding, place your handkerchief flat on the table in front of you and make sure that the better side of your handkerchief lies down to to the table. Let’s start now.
Step 2:
You take the lower corner of the pocket square and fold it directly on the upper corner. After that, you created a triangle. Smooth it carefully than. Do not apply too much pressure when smoothing, otherwise permanent folds will appear in the pocket square. That would not look so good.
Step 3:
After the second step you fold the left corner a third over the pocket square towards the right corner. Now the pocket square should look like the picture on the left here.
Step 4:
In the last step, you take also the right corner and fold it over the handkerchief as far as you folded the left one. Now the pocket square has a tip in the middle at the top and the two sides are the same length below. Smooth it out a little more and then carefully insert it into the breast pocket of your jacket.

If you think your friends can use a few tips on how to fold their pocket square, I would be very happy if you would recommend my site to your friends and family. Feel free to send me a message about what else interests you about the pocket square. I will include the topics in upcoming posts.
Wish you all the best on the event.
If you want to know something about the tracksuits from the film “The Gentlemen” you can read my article about this.